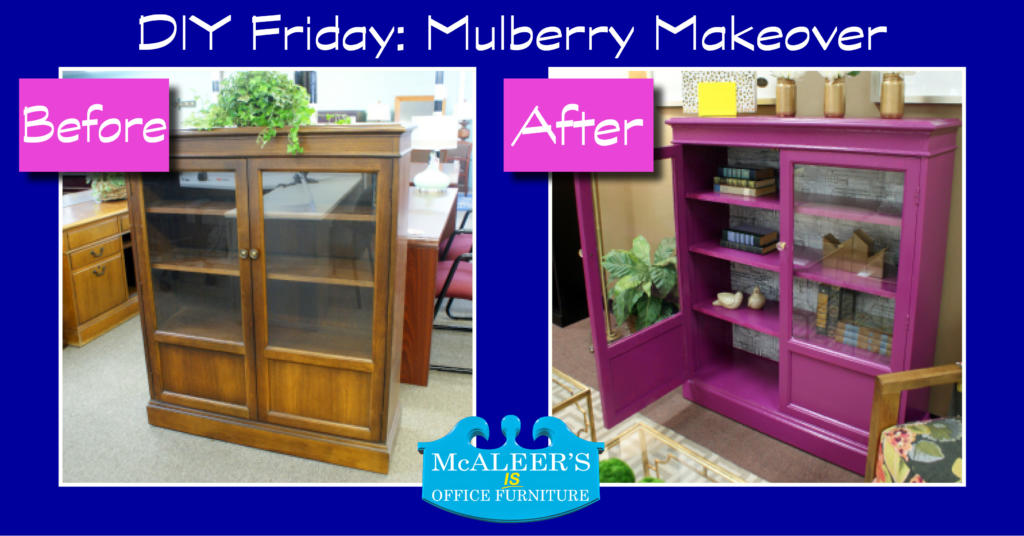
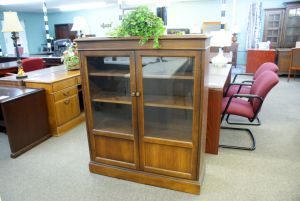
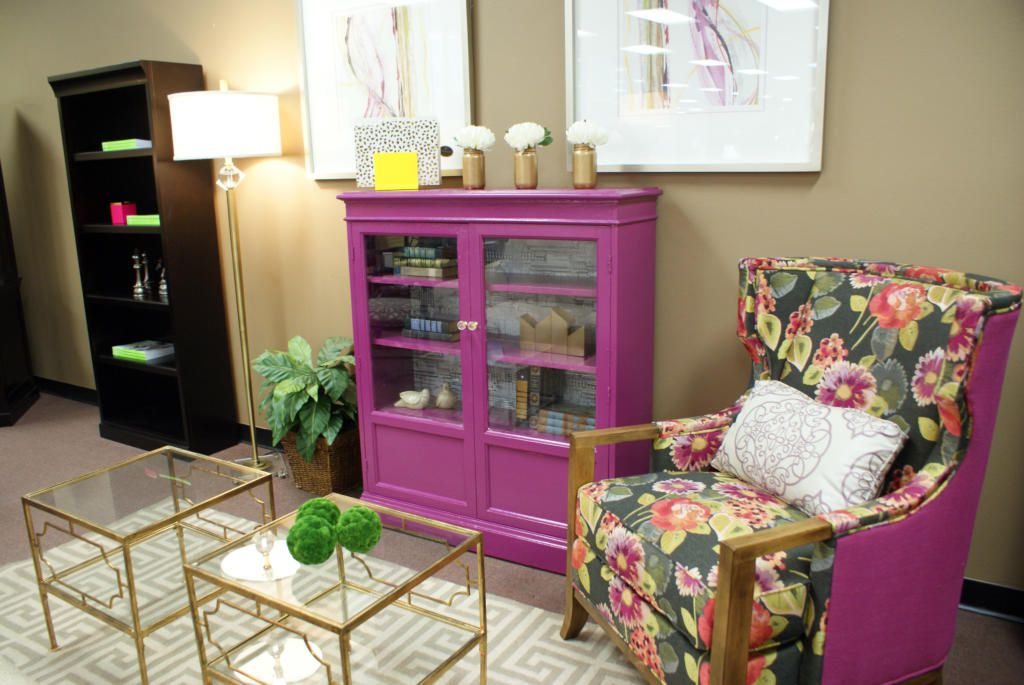
While looking for DIY inspiration on Pinterest, we came across this beautifully decorated office with plum-pink painted built-ins. We immediately fell in love and had an eureka moment! That paint color would look fabulous on one of the glass door bookcases we have in our “Experienced” Furniture Showroom. As stated in our previous post on these bookcases, a bright color on such a traditional bookcase would be such an interesting combination. We did a little research and found out that the paint color is Mulberry by Benjamin Moore. A trip to our local Benjamin Moore store and we were ready to begin.
Here is our shopping list:
2 Quarts of Satin Impervo Alkyd Low Lustre Enamel in Mulberry (2075-20)
1 Quart of STIX Waterborne Bonding Primer
Paint Brushes and Rollers
Mineral Spirits (for cleaning)
2 Rolls of self adhesive vinyl in a fun pattern (17.7″ x 78.7″ roll)
2 Decorative door pulls
Click on the pictures to enlarge
Ready…Set…DIY!
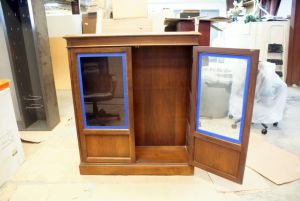
Step 1: Wipe down the bookcase and remove the hardware and shelves. Use painter’s tape around the edges of the glass.
Tip: If you tend to be messy like we are, make sure to tape up all the glass or remove any paint that gets on the glass immediately. We had a rough time scraping off dried paint!
Step 2: Use fine grit sand paper or steel wool to slightly scuff the bookcase. This will help the paint stick.
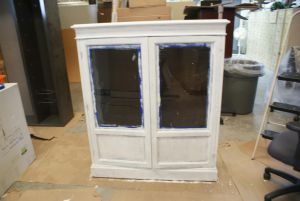
Step 3: Begin with a coat of primer. We only used one coat and evenly covered the bookcase.
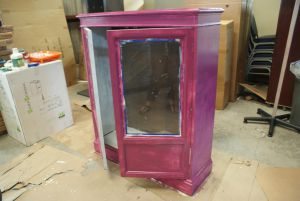
Step 4: Now its time for the real paint. We chose an oil based paint because of its shiny appearance once dry. We used rollers for the larger areas and a brush for the molding and doors. Apply evenly and let dry between coats. It took us three coats to get the coverage we wanted.
Tip: One thing we learned about oil based paints is that you have to be patient and let the paint thoroughly dry before adding a new coat. If patience is not your virtue, it may be better to use a water-based paint.
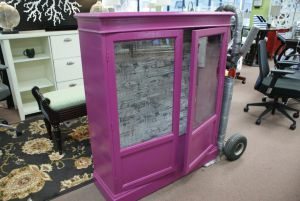
Step 5: Use the self adhesive vinyl to cover the back panel of the bookcase (inside). We chose a cool black, gray and white abstract print. You could also paint this panel a contrasting color.
Tip: Lining up this sticky vinyl and getting it perfectly smooth can be difficult, but the busy pattern helped hide any flaws in the application.
Step 6: Remove the painter’s tape and clean the glass. The mineral spirits are great for cleaning your brushes but will also help with any stubborn paint on the glass (as will a razor blade!)
Step 7: Replace the shelves and install the new hardware.
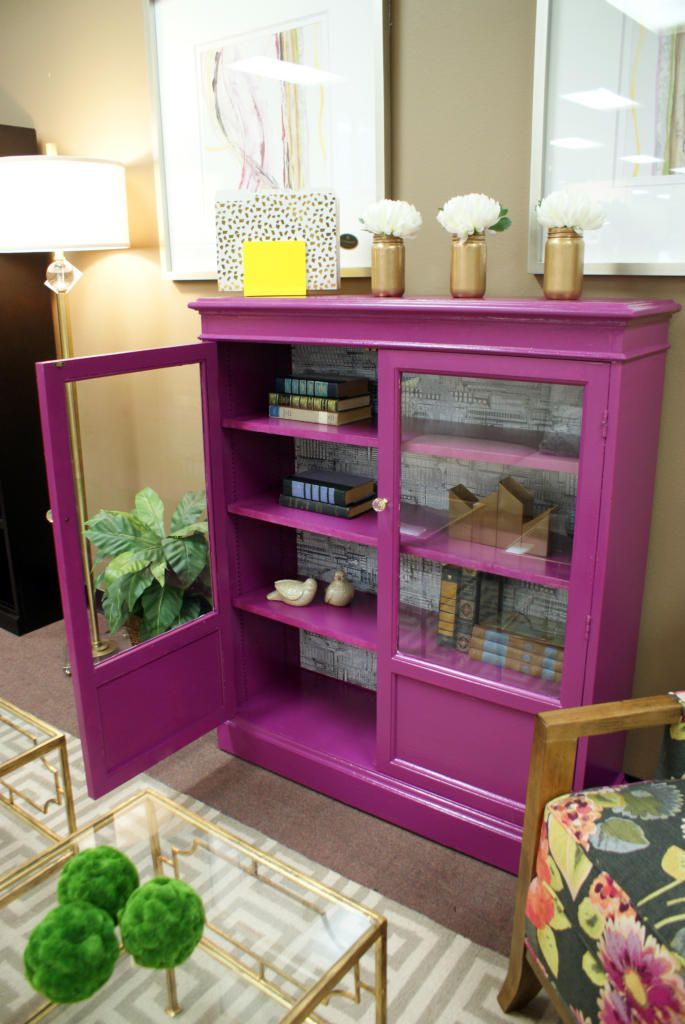
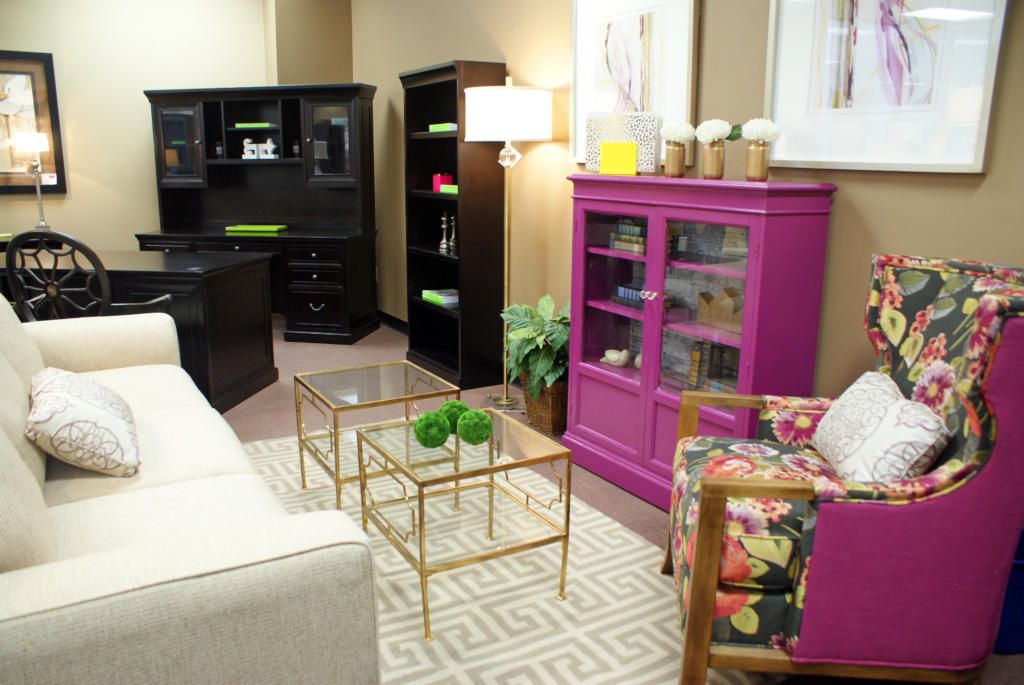
Voila! You are done! We absolutely love the way it turned out. Here it is in our showroom.
Stop by our Used Furniture Showroom today to pick up your own bookcase to makeover this weekend. We also have great chairs and accessories to complete the look. For more step by step tutorials on painting furniture, visit our DIY Friday Pinterest board and keep checking back for more great DIY inspiration!




Leave A Comment