
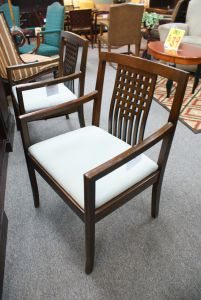
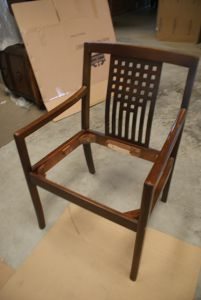
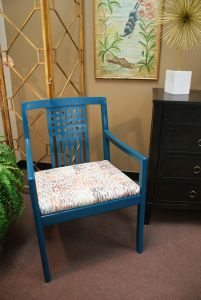
 As soon as these gently used chairs came in on one of our used furniture shipments we immediately knew they were the perfect candidates for a makeover. We loved their frames, but unfortunately the fabric was worn and faded. We set out to make these chairs look fabulous again, but on a budget of $10 per chair!
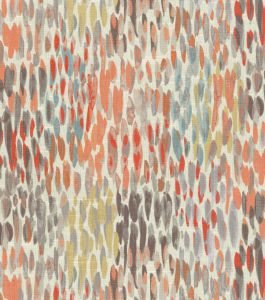
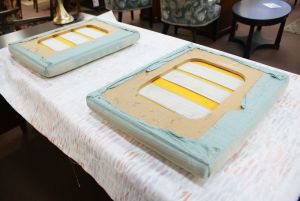
Our first step was a trip to the fabric store. If you have ever been shopping for fabric you know that upholstery can get expensive. We lucked up since the fabric store was have a 50% off sale PLUS we had a 20% off coupon (thanks JoAnn’s!). We recommend that if you are trying to save money to look for sales and coupons as well as shop the clearance section. The seats of the chairs measured 18″ x 20″ so we were told we needed 3/8 of a yard for each seat. We found this upholstery fabric called “Make It Rain Nectar” and fell in love with the colors. After the discounts and the fabric ended up being ONLY $8.99 for 3/4 of a yard which was plenty to cover both chairs.
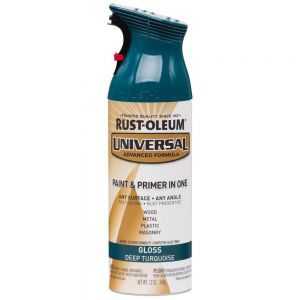
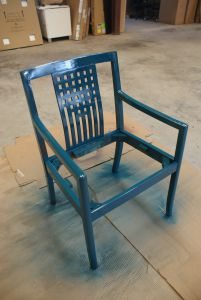
Next we visited the nearest hardware store and picked up two cans of Rust-Oleum paint and primer in one spray in the shade Deep Turquoise. We particularly loved the Ergonomic cap which eliminates finger fatigue and offers 360°, any-angle spray technology. Each can cost $5.76 each which brought the total cost to update each chair to $10.25!!!
The rest was fairly simple…
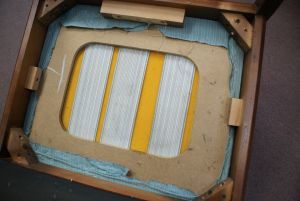
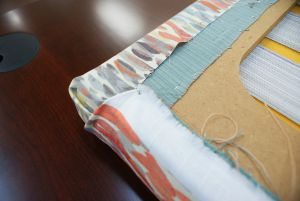
First, we removed the backing on the bottom of the chair seat and then removed the seat from the frame.

Next, we applied two even coats of paint to each chair.
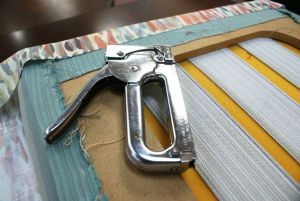
Then, we cut the fabric and used a staple gun to secure to the chair seat. Just fold one side of the fabric over the seat and secure it tightly. Then neatly fold the corner and continue stapling as you move around the seat.
Once the frames were dry, we reattached the seats and Voila! the transformation was complete!
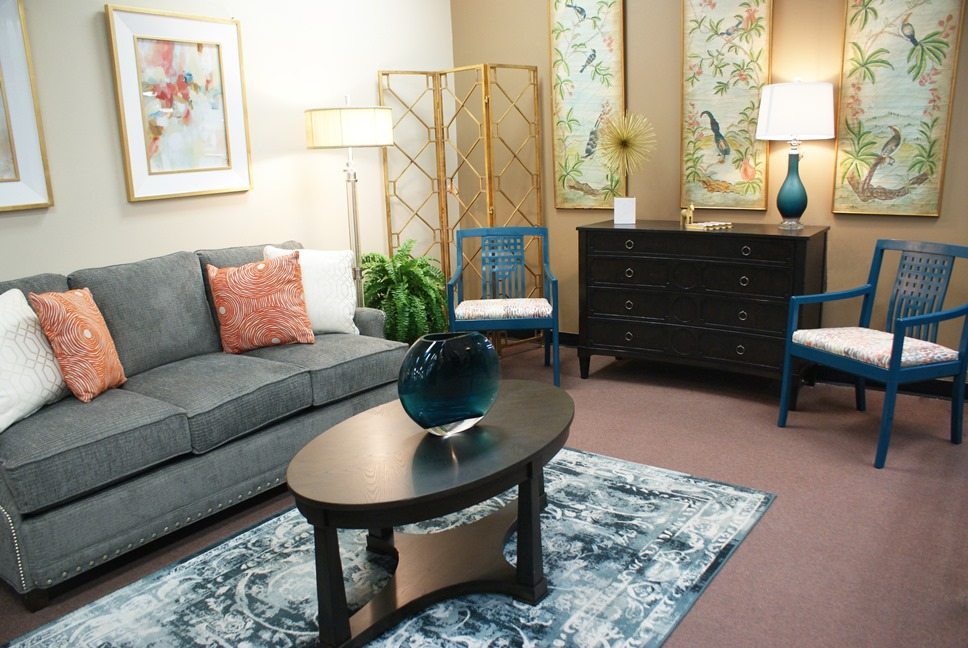
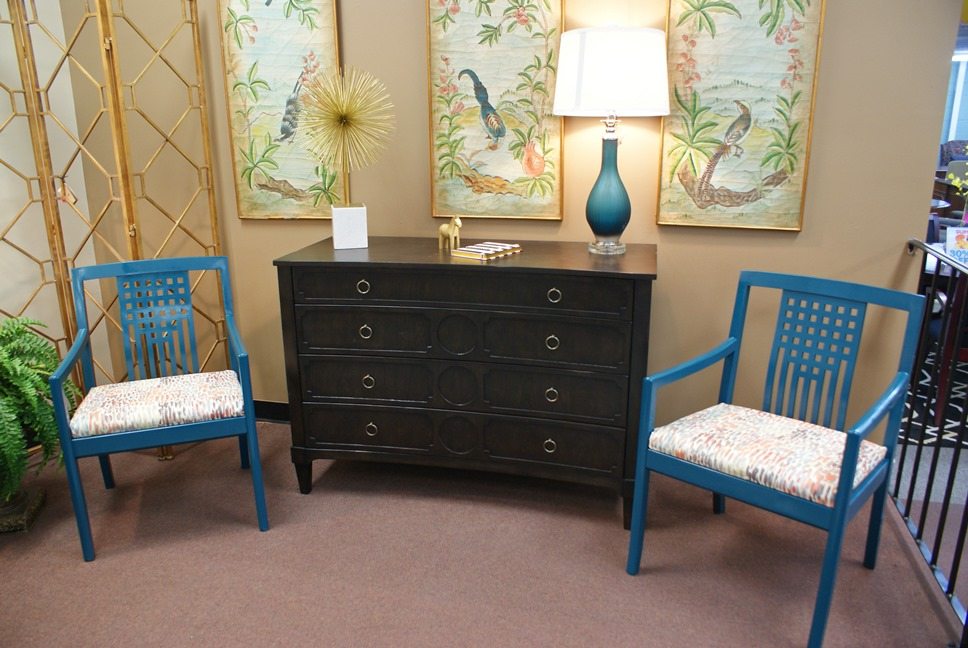
Stop by our Used Furniture Showroom today to pick up your own DIY project. For more step by step tutorials on painting furniture, visit our DIY Friday Pinterest board and keep checking back for more great DIY inspiration!


Leave A Comment