
Painted Desk Tutorial
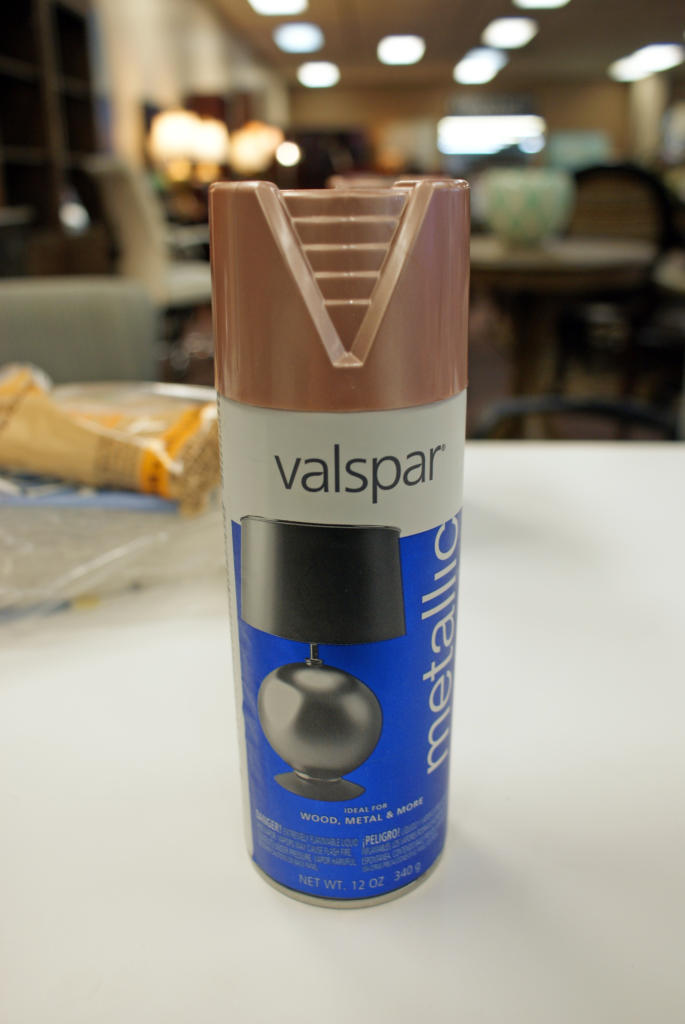
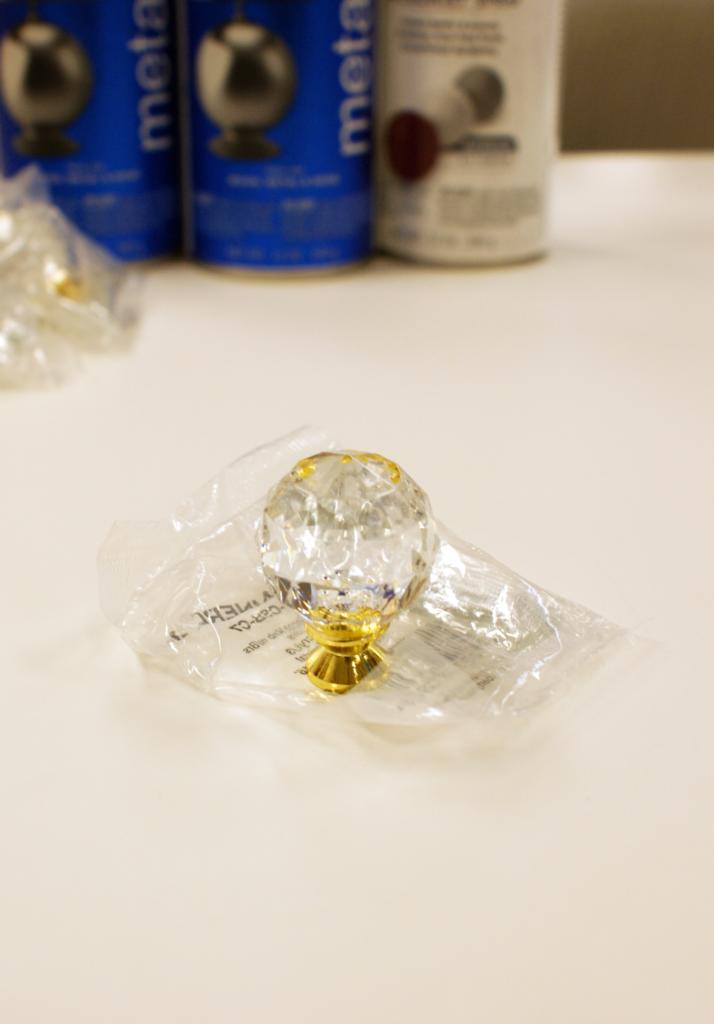
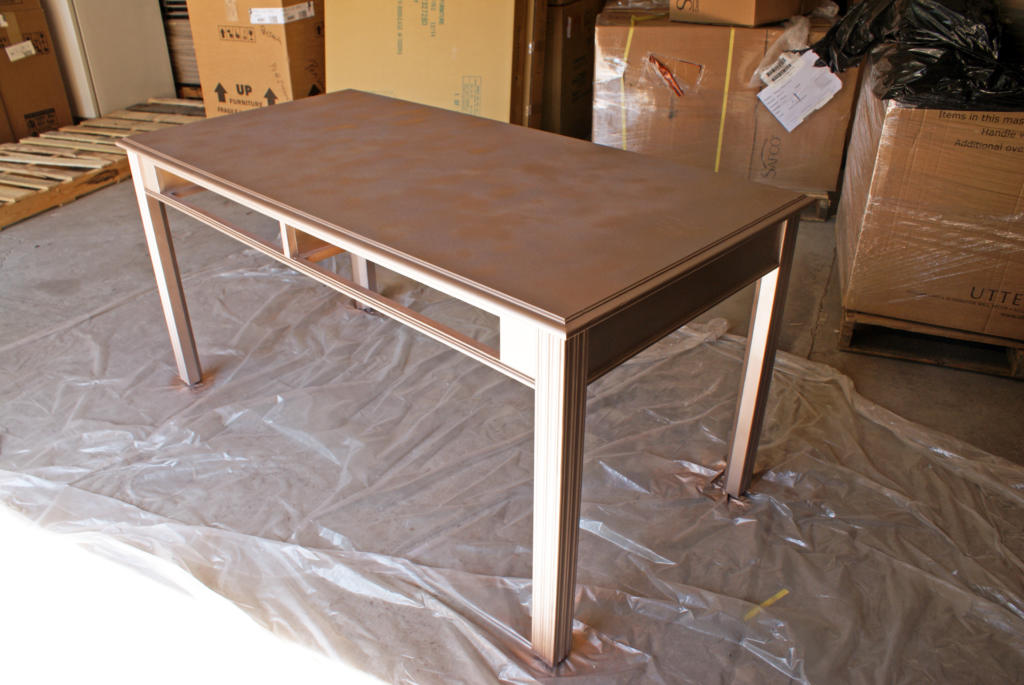
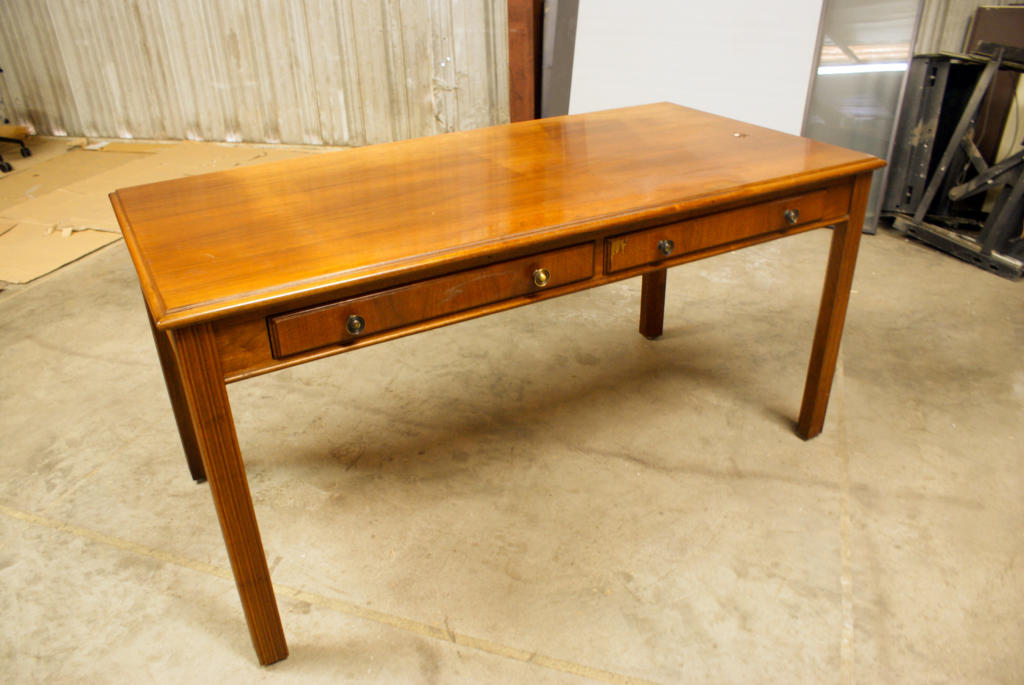 This beautiful vintage JOFCO writing desk from our Used Furniture Showroom had seen better days. Beneath the faded top and water stains there was great potential; all that was need was a trip to the hardware store. So, we decided to give this traditional desk a little modern style. First, we had to choose a paint color. And what is more modern or lux than metallic? We chose this beautiful Rose Gold spray paint from Valspar to add depth and shimmer. We also picked up a drop cloth, cleaning rags, some Valspar Premium Primer and these beautiful crystal knobs as a finishing touch.


Here is a step by step process on how we took this desk from drab to fab. Just wait until you see the finished product!
Step 1: Wipe down the desk and remove any debris.
Step 2: Use fine grit sand paper or steel wool to slightly scuff the desk. This will help the paint stick.
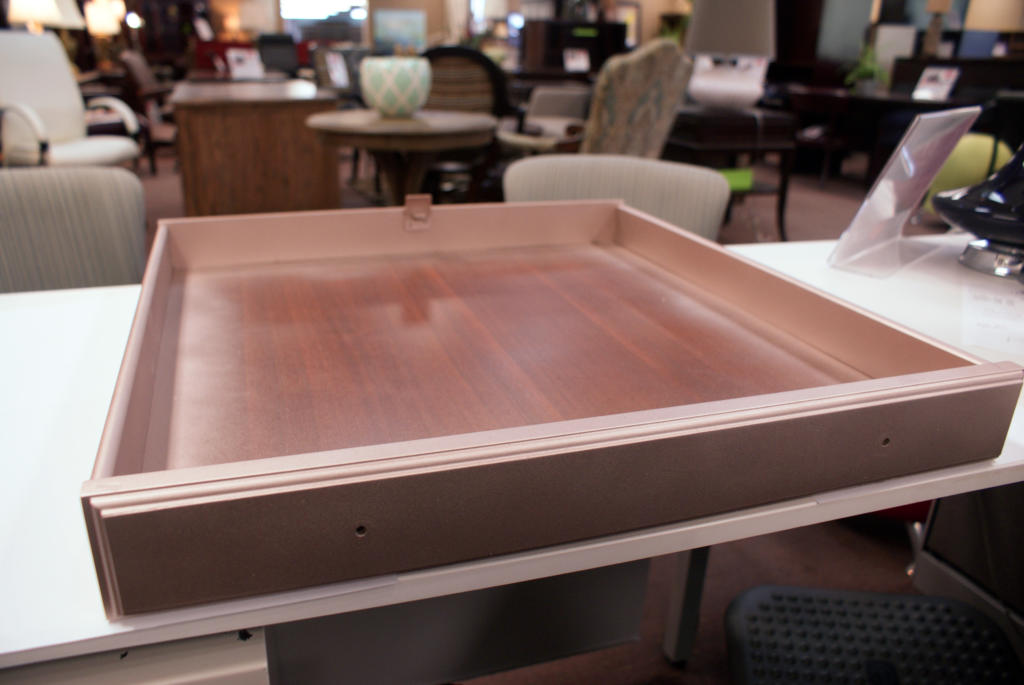
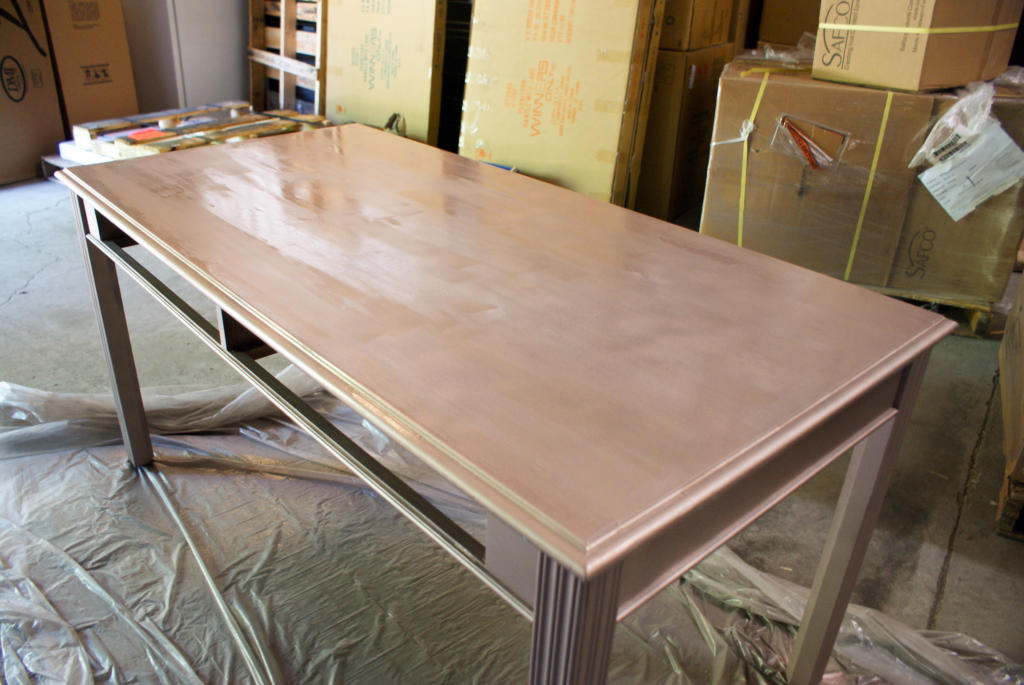
Step 3: Remove the drawers and begin with a coat of primer. We used one can to lightly cover the desk.
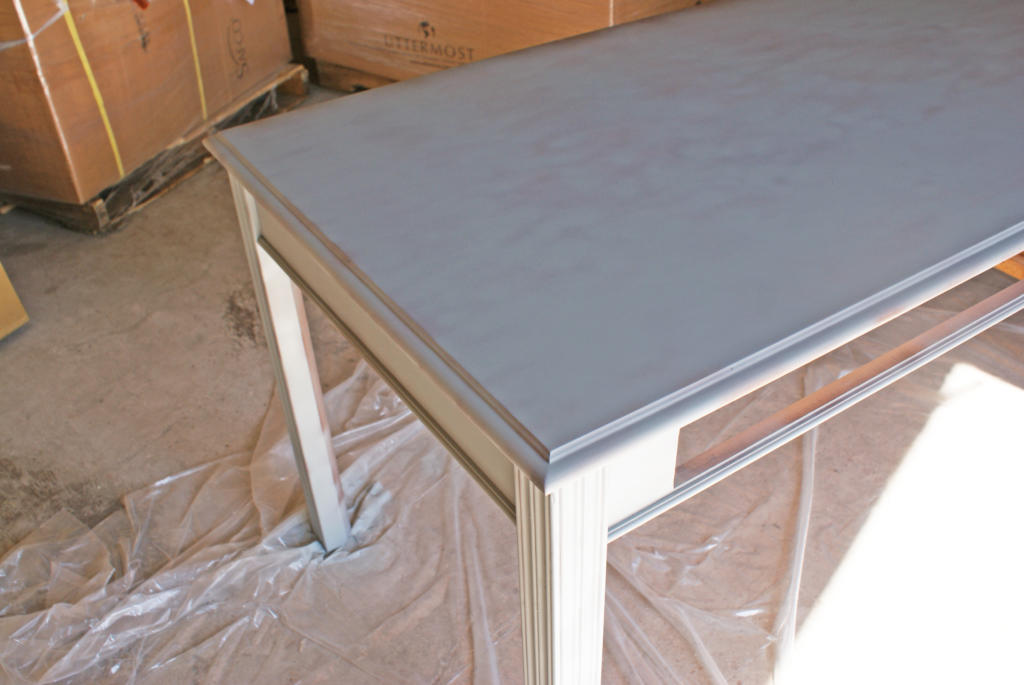
Step 4: Now its time for the real paint. Hold the spray paint at least six inches away from the desk and apply evenly. It is going to require several coats so be patient. We ended up using 4 cans of paint because we chose to paint the inside of the drawers as well. (Note: When using a metallic spray paint you may not get a perfect finish, but in our opinion the imperfections make the desk more interesting).
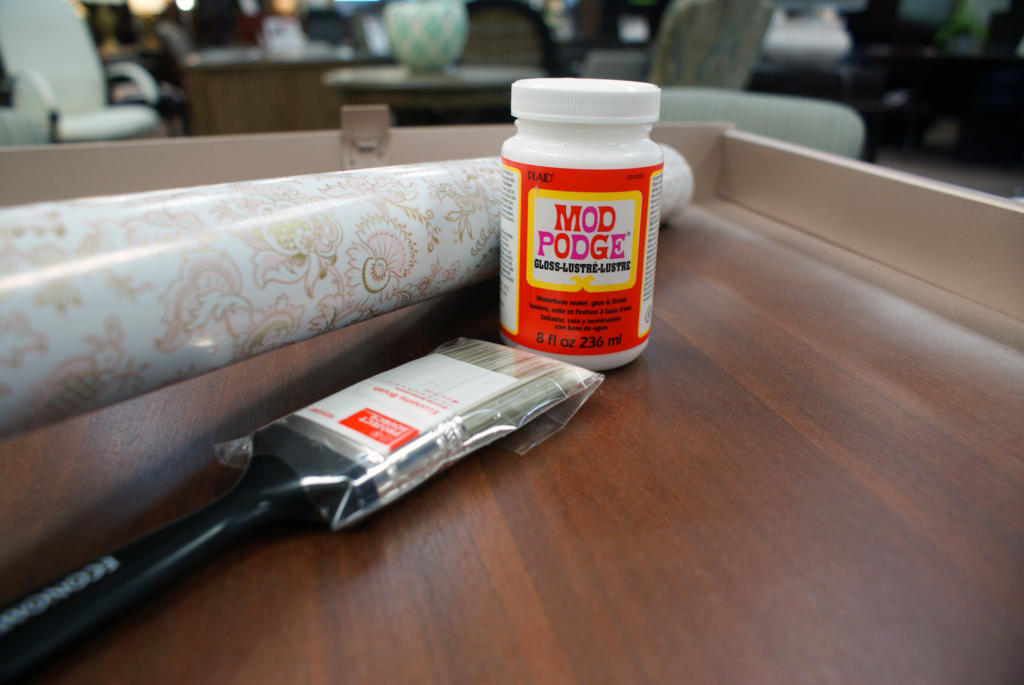
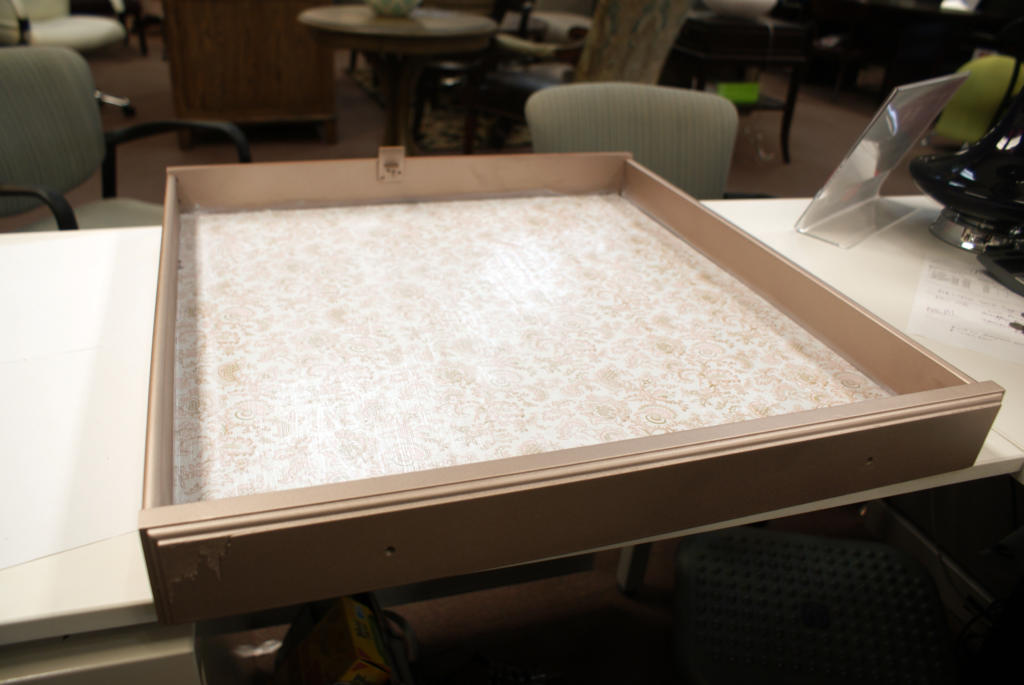
Step 5 (Optional): We decided to go a step further a make a trip to the craft store for some wrapping paper and Modge Podge to give the drawers a decorative look. First, spray the sides as well as the inside of each drawer with paint. Once it is dry, apply an even coat of Modge Podge to the bottom of the drawer. Cut the paper to fit and lay it down in the drawer. Smooth out any bubbles and then use a knife or box cutter to remove any excess paper from the sides. Once this is complete, apply two coats of Modge Podge on top of the paper to seal it.
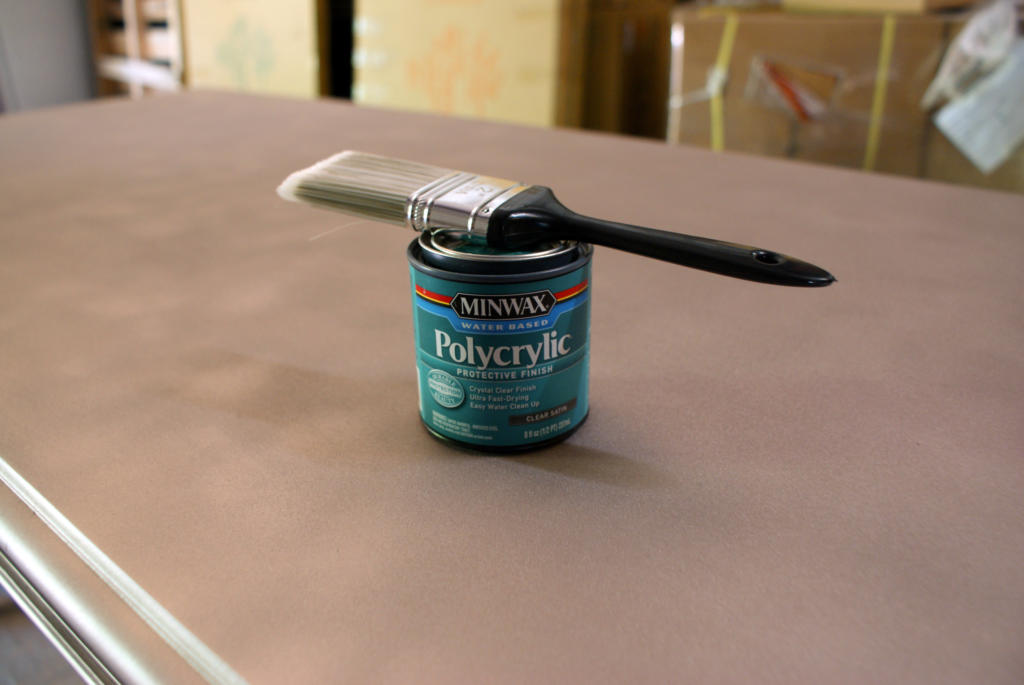
Step 6: Use a protective finish on the “high traffic” areas like the desk top and drawer fronts. We chose this polycrylic finish in Satin. Apply an even coat with the grain; wait 2 hours for it to dry and then apply a second coat.
Step 7: Once the protective finish has dried you can insert the drawers back in the desk and install the new drawer pulls.
Drum Roll please…. Here is the final result!
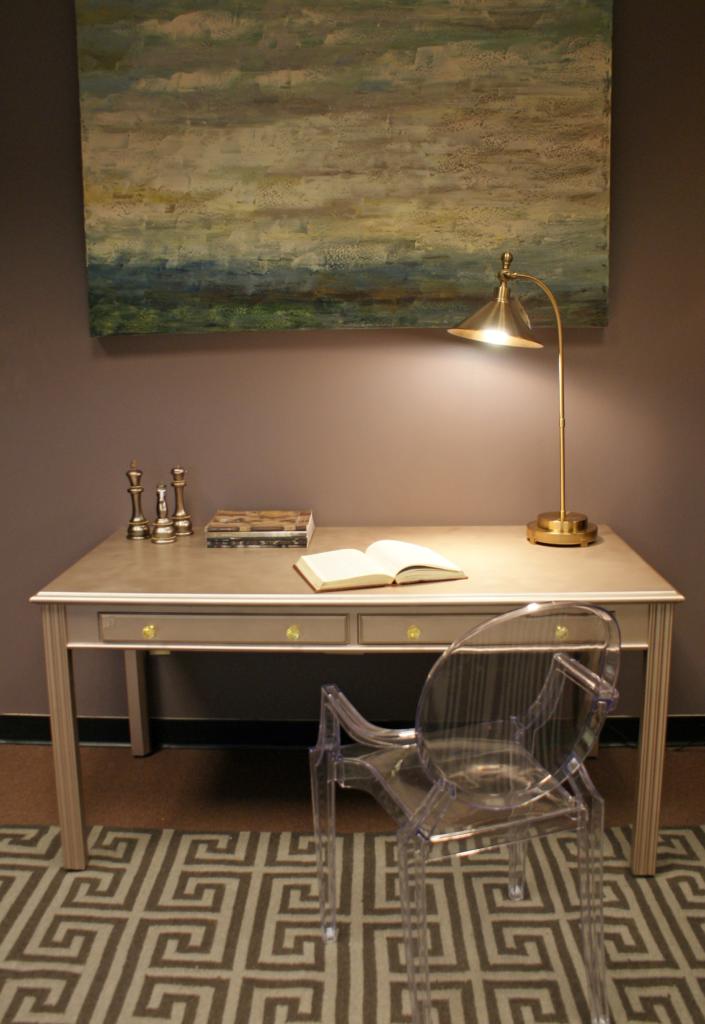

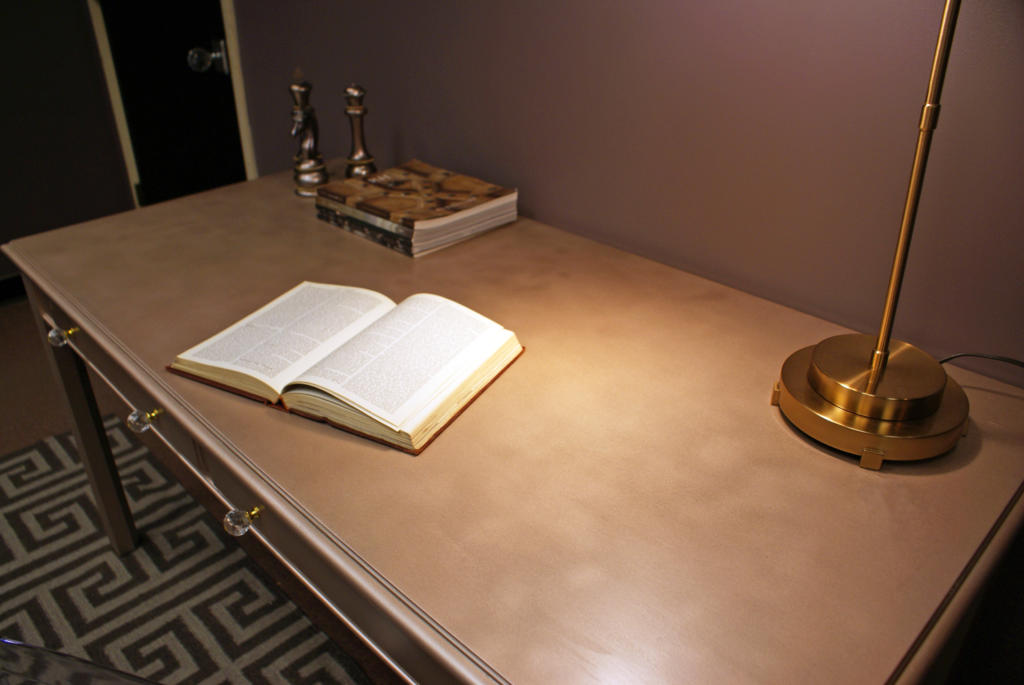
All accessories featured are from Uttermost. The chair is the Ghost Chair from Safco. All items are available at McAleer’s!


Can you tell me what the paint color is on the wall?
It is called Grapey by Sherman Williams and we love it!
https://waterfallmagazine.com
An outstanding share! I’ve just forwarded this onto a
coworker who was doing a little homework on this.
And he in fact ordered me dinner due to the
fact that I discovered it for him… lol. So allow me to reword
this…. Thanks for the meal!! But yeah, thanks for spending time to talk about this
matter here on your internet site.